Qu'est-ce que le montage vidéo par IA ?
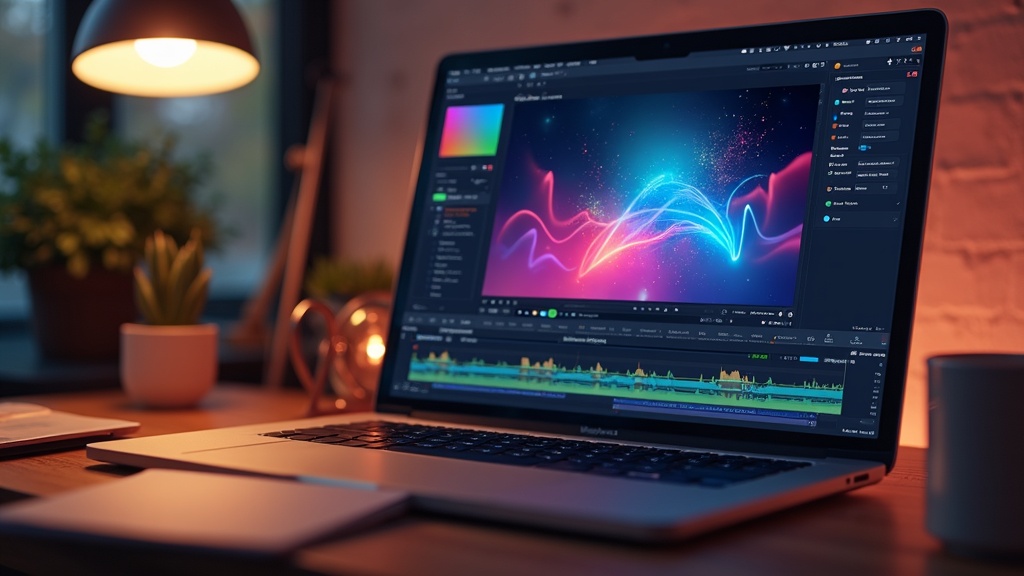
Le montage vidéo a considérablement évolué ces dernières années. Le montage vidéo traditionnel exige de filmer des séquences, de les importer dans un logiciel comme Premiere Pro ou DaVinci Resolve, puis de couper, organiser et améliorer manuellement chaque clip. Cela demande des heures de travail, des connaissances techniques et souvent du matériel coûteux.
Le montage vidéo par IA bouleverse ce processus. Au lieu d'assembler des séquences image par image, vous décrivez ce que vous souhaitez et laissez l'intelligence artificielle générer, améliorer et composer votre vidéo. Les modèles d'IA peuvent créer des clips vidéo entièrement nouveaux à partir de descriptions textuelles, générer des bandes-son assorties, synthétiser des voix off et même gérer le compositing — le processus de superposition d'éléments visuels.
Cela ne signifie pas que le montage traditionnel est obsolète. Les outils alimentés par l'IA comme DaVinciDreams offrent plutôt aux créateurs un nouveau point de départ. Vous pouvez générer un montage brut avec l'IA, puis l'affiner avec des techniques traditionnelles, ou utiliser l'IA pour combler les lacunes dans des séquences déjà tournées. Les deux approches se complètent.
Terminologie essentielle à connaître
Avant de vous lancer, voici les termes essentiels que vous rencontrerez dans le montage vidéo par IA :
- Modèles IA — Réseaux neuronaux spécialisés entraînés pour générer des types de médias spécifiques. Les modèles vidéo (comme Kling ou Sora) créent des séquences animées, les modèles d'image (comme FLUX) produisent des images fixes, et les modèles audio (comme ElevenLabs) génèrent de la parole ou de la musique.
- Prompts — Les descriptions textuelles que vous rédigez pour indiquer à un modèle IA ce qu'il doit générer. Un prompt comme « Un coucher de soleil sur l'océan, éclairage cinématique, lent panoramique de caméra » guide le modèle vers un résultat spécifique.
- BYOK (Bring Your Own Key) — Un système où vous utilisez vos clés API personnelles de fournisseurs comme OpenAI ou ElevenLabs. Cela vous permet de contourner les crédits de la plateforme et de payer directement le fournisseur, souvent à moindre coût.
- Crédits — La monnaie utilisée sur les plateformes comme DaVinciDreams pour payer les générations IA. Différents modèles coûtent différents montants de crédits selon la complexité et la durée de sortie.
- Compositing — La superposition de plusieurs éléments visuels et audio. Dans DaVinciDreams, chaque clip peut avoir des éléments empilés avec une opacité, un volume et une position ajustables.
- Timeline — L'arrangement horizontal des clips en séquence. Votre film est organisé sous forme d'arbre : Film → Scènes → Clips, chaque niveau contenant des prompts et des éléments composités.
- Rendu — L'étape finale où toutes les couches, transitions et effets sont combinés en un seul fichier vidéo. DaVinciDreams utilise le rendu cloud pour gérer cela sans solliciter votre ordinateur.
Comment fonctionne DaVinciDreams
DaVinciDreams est un éditeur de films IA unifié qui rassemble plus de 50 modèles d'IA de fournisseurs comme PiAPI, fal.ai, Black Forest Labs, ElevenLabs, OpenAI et Google dans un espace de travail unique. Au lieu de passer d'un outil à l'autre pour la génération vidéo, la création d'images, la synthèse vocale et la composition musicale, tout se trouve dans un seul éditeur.
Le pipeline du scénario au film
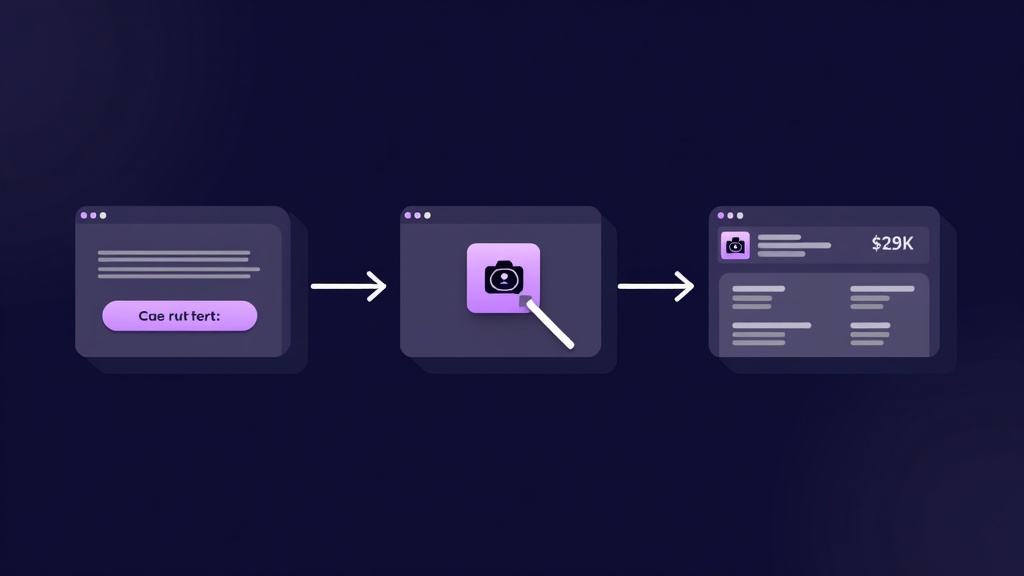
Le moyen le plus rapide de commencer est l'Assistant Générateur. Ce processus en trois étapes fonctionne ainsi :
- Décrivez votre film — Rédigez un bref synopsis, choisissez un preset de style (il y en a 12, dont cinématique, anime, noir, documentaire et bien d'autres), sélectionnez vos modèles IA préférés pour chaque type de média, et définissez la durée de votre film.
- Ajoutez des images de référence — Importez des photos ou des illustrations montrant le style visuel, les personnages ou les lieux souhaités. Le système utilise une IA de vision pour décrire automatiquement ces images et les intégrer au scénario.
- Révisez et générez — Consultez une ventilation des coûts couvrant chaque génération (écriture du scénario par LLM, clips vidéo, images, voix off, musique et effets sonores), puis lancez le processus. L'IA rédige un scénario structuré et crée un projet complet que vous pouvez ouvrir dans l'éditeur.
L'éditeur
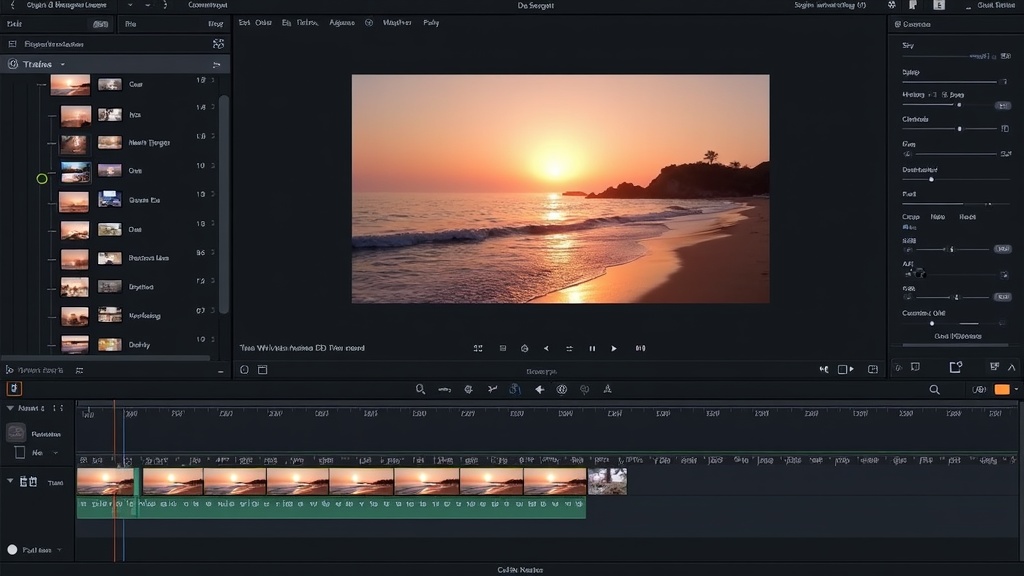
Une fois votre projet prêt, l'éditeur vous offre un espace de travail à trois panneaux : un arbre de structure à gauche montrant la hiérarchie de votre film, un aperçu en direct au centre propulsé par Remotion, et un panneau de propriétés à droite où vous ajustez les prompts, les paramètres du modèle et les réglages des éléments. Vous pouvez régénérer n'importe quel clip, changer de modèle, ajuster le timing et affiner jusqu'à satisfaction.
La plateforme est disponible en six langues — anglais, allemand, espagnol, français, chinois et hindi — pour que vous puissiez travailler dans la langue qui vous convient le mieux. Consultez la liste complète des fonctionnalités sur la page Fonctionnalités.
Premiers pas : Forfait gratuit et packs de crédits
Vous n'avez rien à payer pour commencer à explorer. Le forfait gratuit inclut :
- Jusqu'à 50 générations d'images par mois
- Jusqu'à 50 générations audio par mois (30 secondes maximum chacune)
- Jusqu'à 3 projets simultanément
- Un filigrane sur les vidéos exportées
La génération vidéo est réservée aux utilisateurs payants car les modèles vidéo sont nettement plus coûteux à exécuter. Lorsque vous êtes prêt à passer au niveau supérieur, les packs de crédits commencent à $5 et augmentent progressivement. Les estimations de coûts pour chaque utilisation sont affichées à l'avance, et les coûts de création de médias sont similaires à ce que vous paieriez sur les grandes plateformes comme Kling, Sora ou Hunyuan directement. Les prix sont affichés dans la devise de votre choix (15 devises prises en charge).
Si vous possédez déjà des clés API de fournisseurs comme OpenAI ou ElevenLabs, vous pouvez utiliser le système BYOK pour les connecter directement. Lorsqu'une clé personnelle valide est détectée, DaVinciDreams ignore entièrement la déduction de crédits et achemine les requêtes via votre propre compte.
Choisir les bons modèles IA
L'un des plus grands avantages de DaVinciDreams est le choix des modèles. Plutôt que d'être enfermé chez un seul fournisseur, vous choisissez le meilleur modèle pour chaque tâche. Voici un guide rapide par catégorie :
Modèles vidéo
La génération vidéo est la catégorie la plus gourmande en ressources. Vos principales options incluent :
- Kling 2.6 (PiAPI) — Génération vidéo polyvalente avec une bonne qualité de mouvement. Disponible en tiers Standard et Pro.
- Hailuo / MiniMax (PiAPI) — Excellent pour l'animation de personnages et les scènes de dialogue. Prend en charge les images de référence pour la cohérence.
- Sora (OpenAI) — Sortie cinématique de haute qualité avec une compréhension avancée de la physique et de l'éclairage. Plus coûteux mais des résultats impressionnants.
- Hunyuan (fal.ai) — Option économique à partir de $0.03 par génération. Idéal pour le prototypage et les montages bruts.
Modèles d'image
- FLUX (Black Forest Labs) — Rapide, abordable et de haute qualité. FLUX Schnell est idéal pour les itérations rapides ; FLUX Pro pour la qualité finale.
- DALL-E 3 (OpenAI) — Rendu de texte solide et bonne compréhension de la composition. Idéal pour les cartons-titres et les éléments graphiques.
- Ideogram 3.0 — Excellente typographie et résultats orientés design.
Modèles audio
- ElevenLabs — Synthèse vocale de référence dans l'industrie avec capacité Speech-to-Speech. Idéal pour la narration et les dialogues.
- OpenAI TTS — Voix propres et naturelles à un tarif inférieur. Idéal pour les voix off simples.
- ACE-Step (fal.ai) — Génération musicale à un coût extrêmement bas ($0.0005 par seconde). Parfait pour les musiques de fond.
Vous pouvez parcourir chaque modèle, ses capacités et ses coûts unitaires sur la page Fonctionnalités.
Conseils pour de meilleurs résultats
La génération vidéo par IA récompense les bonnes techniques. Voici des conseils pratiques pour améliorer la qualité de vos résultats :
1. Rédigez des prompts clairs et précis
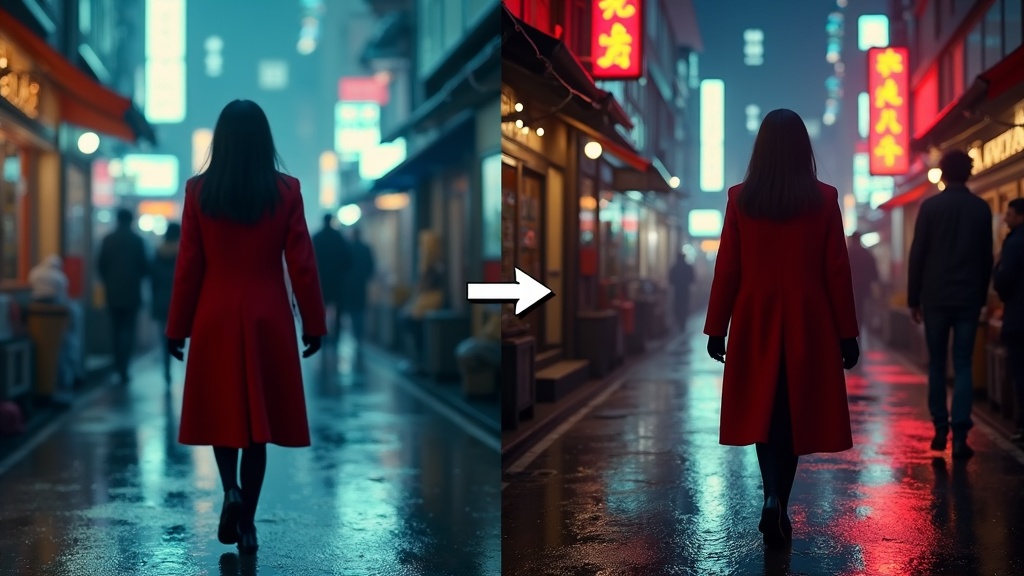
Des prompts vagues produisent des résultats vagues. Au lieu de « une personne qui marche », essayez « une femme en manteau rouge marchant dans une rue de Tokyo sous la pluie la nuit, reflets néon sur le pavé mouillé, plan moyen, éclairage cinématique ». Incluez des détails sur l'angle de caméra, l'éclairage, l'ambiance et le décor.
2. Maintenez la cohérence de style
Choisissez l'un des 12 presets de style (comme cinématique, anime ou documentaire) et gardez-le tout au long de votre projet. Mélanger les styles entre les clips crée une expérience de visionnage saccadée. Si vous avez besoin d'un changement de style, faites-le de manière délibérée et motivée par l'histoire.
3. Itérez et affinez
Votre première génération sera rarement parfaite. Utilisez l'éditeur pour régénérer des clips individuels avec des prompts ajustés. Modifiez les paramètres du modèle comme l'échelle de guidage, le rapport d'aspect et la durée. Chaque itération vous rapproche du résultat que vous envisagez.
4. Utilisez des images de référence
Les images de référence améliorent considérablement la cohérence. Importez des photos du style visuel, de l'apparence des personnages ou des lieux de référence souhaités. L'Assistant Générateur décrit automatiquement ces images à l'aide de l'IA de vision et les intègre au scénario. Les modèles dotés de capacités de référence de personnages et de scènes peuvent alors maintenir une continuité visuelle entre les clips.
5. Commencez petit, puis montez en échelle
Débutez avec une courte scène ou un clip de 30 secondes avant de tenter un film complet. Cela vous permet d'apprendre le comportement des modèles, de tester des stratégies de prompts et de comprendre les coûts sans un investissement initial important. Le flux de travail du Créateur vidéo IA est conçu pour soutenir cette approche itérative.
6. Combinez IA et techniques traditionnelles
Les clips générés par IA bénéficient souvent de la post-production traditionnelle. Utilisez les couches de compositing pour ajouter des incrustations de texte, ajuster l'opacité pour les effets de fondu, et affiner les niveaux audio. L'éditeur DaVinciDreams prend en charge l'empilement complet des éléments avec des contrôles par couche.
Montage IA vs montage traditionnel
Comprendre quand utiliser chaque approche vous aide à obtenir les meilleurs résultats.
Quand le montage IA excelle
- Pas de séquences existantes — L'IA peut créer des scènes entières à partir de descriptions textuelles, éliminant le besoin de caméras, d'acteurs et de lieux de tournage.
- Prototypage rapide — Générez un montage brut en quelques minutes pour tester un concept avant de s'engager dans une production complète.
- Musique et design sonore — L'IA peut produire des bandes-son personnalisées, des effets sonores et des voix off sans engager de musiciens ou de comédiens de doublage.
- Exploration de styles — Expérimentez rapidement différents styles visuels (anime, noir, aquarelle) pour trouver l'esthétique idéale.
- Créateurs solo — Une seule personne peut produire du contenu qui nécessitait auparavant une équipe de production entière.
Quand le montage traditionnel est préférable
- Séquences existantes — Si vous avez déjà filmé de la vidéo, les outils de montage traditionnels vous donnent un contrôle précis sur les coupes, l'étalonnage couleur et le timing.
- Précision à l'image près — Les NLE traditionnels offrent un contrôle image par image que les outils IA ne peuvent pas encore égaler.
- Motion graphics complexes — Les séquences de titres et les visualisations de données restent mieux gérées par des outils comme After Effects.
- Normes de diffusion — Les flux de production de diffusion professionnelle ont des exigences techniques spécifiques que les pipelines traditionnels sont conçus pour gérer.
L'approche hybride
Le flux de travail le plus puissant combine les deux. Utilisez l'IA pour générer des plans d'ensemble, de la musique de fond et de la narration vocale. Puis importez ces ressources dans un éditeur traditionnel — ou utilisez le compositing intégré de DaVinciDreams — pour peaufiner le produit final. Le pipeline texte vers vidéo est particulièrement utile pour générer des séquences initiales que vous affinez ensuite dans l'éditeur.
La suite
Le montage vidéo par IA évolue rapidement. De nouveaux modèles sont lancés chaque mois avec une meilleure qualité, des durées de sortie plus longues et des coûts réduits. Des fonctionnalités comme la cohérence des personnages (maintenir la même apparence d'un personnage sur plusieurs clips) et les références de scènes rendent les films générés par IA plus cohérents que jamais.
La meilleure façon d'apprendre est de commencer à créer. Inscrivez-vous pour un compte gratuit, explorez l'Assistant Générateur et expérimentez avec différents modèles et styles. Avec 50 générations d'images gratuites et 50 générations audio gratuites chaque mois, vous avez largement de quoi apprendre sans dépenser un centime.
Prêt à créer votre première vidéo alimentée par l'IA ? Ouvrez DaVinciDreams et commencez à créer.