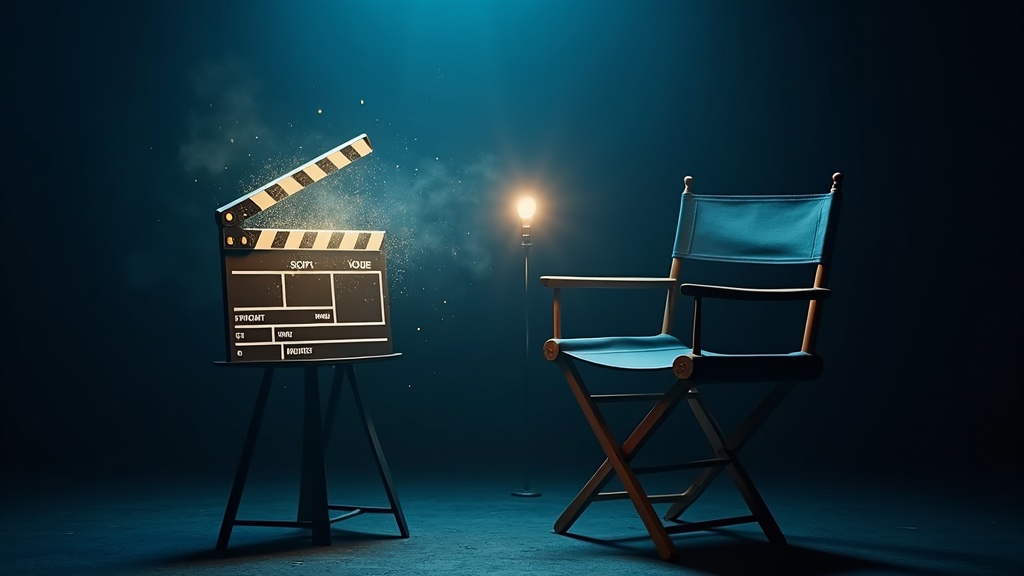
Crear una película solía requerir equipamiento costoso, grandes equipos de producción y meses de trabajo en postproducción. Hoy, las herramientas de producción cinematográfica con IA permiten a cualquiera — desde creadores individuales hasta pequeños estudios — producir películas de calidad profesional a partir de nada más que un prompt de texto. En esta guía paso a paso, te acompañamos a lo largo de todo el proceso de creación de una película generada con IA usando DaVinciDreams, desde tu concepto inicial hasta una película terminada y lista para compartir.
Lo que Necesitas para Empezar
Antes de empezar, esto es lo que necesitarás:
- Una cuenta gratuita en DaVinciDreams (el plan gratuito incluye 50 generaciones de imagen y audio al mes)
- Un concepto o idea para tu película — incluso una sola frase es suficiente
- Opcionalmente, imágenes de referencia si tienes una dirección visual específica en mente
No se requiere programación, experiencia en edición de vídeo ni software costoso. Si puedes escribir una frase, puedes hacer una película. Empecemos.
Paso 1: Escribe tu Concepto
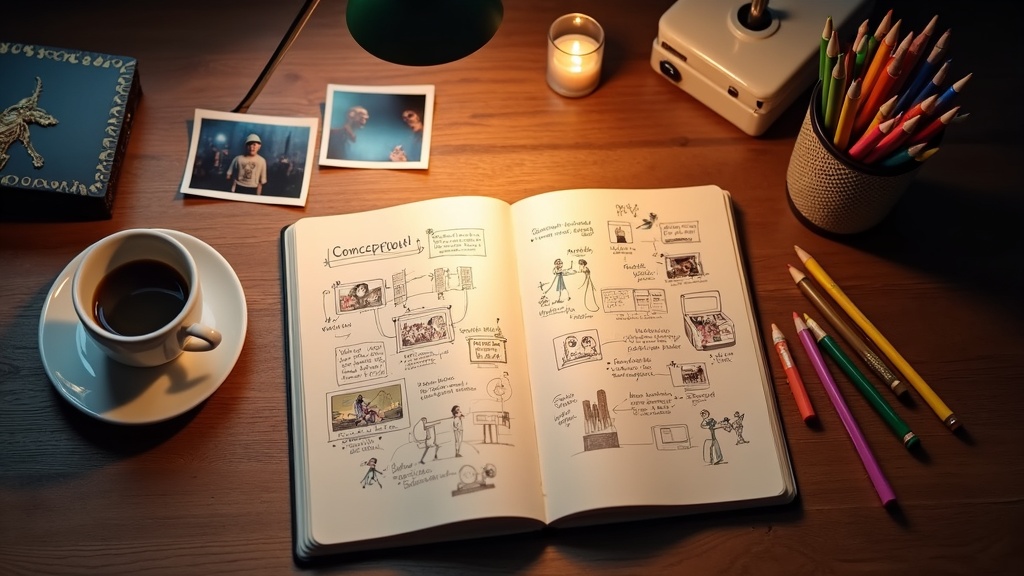
Toda gran película comienza con una idea. Tu concepto no necesita ser un guion completo — una sola frase funciona perfectamente. El generador de guiones con IA expandirá tu idea en una narrativa completa y estructurada. Aquí tienes algunos ejemplos para inspirarte:
- "Un astronauta solitario descubre señales de vida en Europa."
- "Dos chefs rivales compiten en una batalla culinaria en los mercados callejeros de Tokio."
- "Una abuela le enseña a su nieta a pilotar un biplano vintage."
Piensa en el ambiente, el escenario y el género que deseas. Cuanto más específica sea tu frase, más personalizado será el guion generado por la IA — pero incluso ideas vagas producen resultados sorprendentemente ricos.
Paso 2: Usa el Generador de Guiones con IA
Dirígete al Asistente de Generación de DaVinciDreams y pega tu concepto en el campo de prompt del guion. El asistente te guía a través de tres sencillos pasos:
- Configuración del guion — Elige la duración de tu película, el idioma objetivo y el modelo LLM que escribirá tu guion. Las películas más largas seleccionan automáticamente modelos más potentes para manejar la mayor complejidad.
- Imágenes de referencia — Opcionalmente sube fotos o ilustraciones. La IA las analizará con un modelo de visión e integrará descripciones visuales en tu guion usando etiquetas de referencia.
- Revisión y generación — Consulta una estimación de costes, revisa tu configuración y pulsa Generar. El LLM produce un guion completamente estructurado en formato JSON, con escenas, clips, diálogos, direcciones de cámara y curvas de tensión integradas.
Lo que hace especial al generador de guiones de DaVinciDreams es el sistema de curvas de tensión. La IA estructura automáticamente el ritmo de tu película — Planteamiento, Acción Ascendente, Clímax y Resolución — para que el resultado se sienta como una narrativa real, no una secuencia aleatoria de clips. Obtienes un proyecto completo con escenas, clips, prompts para cada tipo de medio e información de sincronización, todo generado en segundos.
Eligiendo el LLM Correcto
El generador ofrece múltiples modelos de lenguaje para la escritura de guiones. Para cortometrajes de menos de 5 minutos, los modelos rápidos y económicos como GPT-4.1 Nano funcionan bien. Para narrativas más largas y complejas, el sistema recomienda modelos con ventanas de contexto más grandes como Claude Sonnet o Claude Opus. El asistente valida que tu modelo elegido pueda manejar el recuento estimado de tokens y te avisa antes de que alcances los límites de capacidad.
Paso 3: Elige tu Estilo Visual
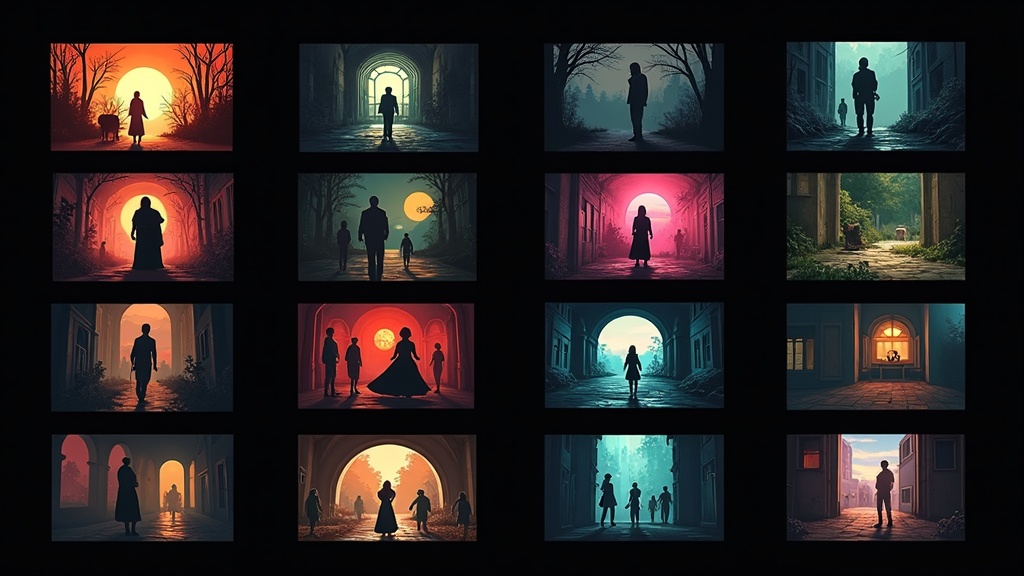
DaVinciDreams ofrece 12 estilos visuales predefinidos que definen el aspecto general de tu película. Elige el que se ajuste a tu visión creativa:
- Cinematográfico — Aspecto de película de Hollywood con iluminación dramática y poca profundidad de campo
- Anime — Estilo de animación japonesa con colores vibrantes y composiciones dinámicas
- Noir — Alto contraste en blanco y negro con sombras evocadoras
- Documental — Naturalista, sensación de cámara en mano
- Ciencia Ficción — Entornos futuristas con neón e iluminación volumétrica
- Disney — Estilo de animación 3D colorido y familiar
- Acuarela — Aspecto suave y pictórico con texturas orgánicas
- Cómic — Contornos marcados y colores tipo cel-shading
- Terror — Tonos oscuros y desaturados con atmósfera inquietante
- Pixel Art — Estética retro de baja resolución inspirada en videojuegos
- Animación Clásica — Estilo de animación 2D dibujada a mano tradicional
- Realista — Renderizado fotorrealista para el máximo realismo
El estilo seleccionado se integra en cada prompt visual, asegurando consistencia en todas las escenas generadas. También puedes ajustar los prompts de clips individuales más tarde en el editor si quieres que tomas específicas se desvíen del estilo general.
Paso 4: Genera Vídeo, Imágenes y Audio
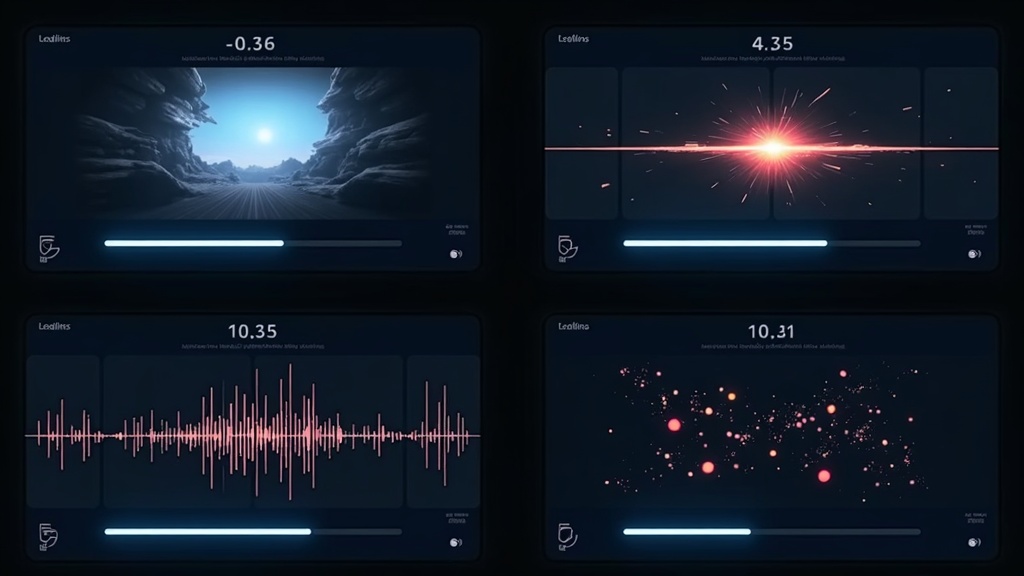
Aquí es donde ocurre la magia. DaVinciDreams utiliza un enfoque multi-modelo — en lugar de depender de una sola IA, orquesta modelos especializados para cada tipo de medio:
Generación de Vídeo
Para clips de vídeo, modelos como Kling 2.6 transforman prompts de texto en secuencias de vídeo cortas. Cada clip de tu guion recibe su propia solicitud de generación con prompts específicos de la escena, direcciones de cámara y modificadores de estilo integrados. La plataforma soporta múltiples modelos de vídeo a diferentes niveles de precio y calidad, para que puedas equilibrar presupuesto y fidelidad visual.
Generación de Imágenes
Fotogramas fijos, fondos y planos de establecimiento se generan usando modelos de imagen como FLUX. Son ideales para cartelas de título, transiciones o cualquier momento donde un fotograma estático encaja mejor que un vídeo completo. La generación de imágenes es rápida y asequible — la mayoría de las imágenes cuestan menos de un céntimo de producir.
Voz y Diálogos
Los diálogos de personajes y la narración se sintetizan usando texto a voz de ElevenLabs. Puedes seleccionar diferentes voces para diferentes personajes, ajustar el ritmo e incluso usar speech-to-speech para interpretaciones más naturales. La plataforma también soporta OpenAI y Google TTS como alternativas.
Música y Efectos de Sonido
La música de fondo es generada por modelos como Stability Audio, mientras que los efectos de sonido pueden crearse con modelos dedicados de SFX. Tú controlas la cobertura — los deslizadores te permiten establecer qué porcentaje de la duración de tu película debería tener música (por ejemplo, 15-30%) y efectos de sonido.
Todos los recursos generados se almacenan de forma segura en Cloudflare R2 y se transmiten directamente a tu navegador a través de un CDN — el servidor nunca toca tus archivos de medios, manteniendo todo rápido y eficiente. Consulta la lista completa de modelos soportados y sus capacidades en la página de Funcionalidades.
Paso 5: Edita en el Editor de Línea de Tiempo
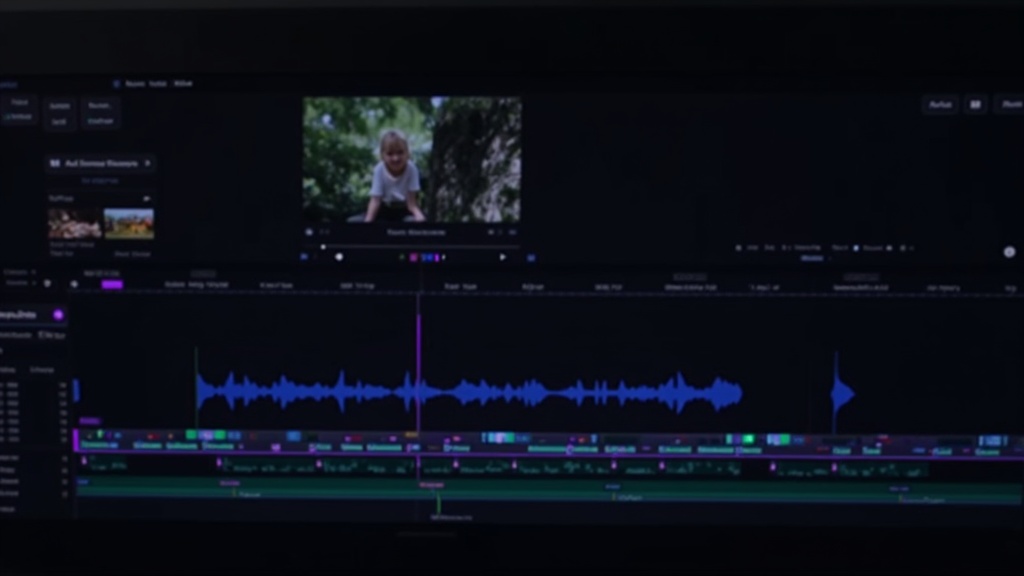
Una vez que tus recursos estén generados, cambia al editor de línea de tiempo de DaVinciDreams para ensamblar y refinar tu película. El editor proporciona un entorno de edición multipista profesional directamente en tu navegador:
- Línea de tiempo multipista — Organiza capas de vídeo, imagen, audio y texto en pistas separadas. Arrastra clips para reordenar, recorta bordes y ajusta la sincronización.
- Capas de composición — Apila elementos con opacidad por capa, controles de volumen y posicionamiento de capas. Superpón títulos sobre vídeo, mezcla múltiples pistas de audio o compón efectos.
- Previsualización en tiempo real — El reproductor Remotion integrado renderiza tu composición en vivo en el navegador. Ve exactamente cómo se verá y sonará tu película mientras editas, con reproducción precisa al fotograma y controles de transporte.
- Deshacer/rehacer — Cada edición se rastrea con hasta 50 pasos de historial de deshacer (Ctrl+Z / Ctrl+Y), para que puedas experimentar libremente.
- Edición de prompts — ¿No estás contento con un clip? Edita el prompt directamente en el panel de trabajo y regénéralo. El sistema de sugerencias de calidad de prompts te advierte sobre problemas comunes como direcciones de cámara faltantes o descripciones excesivamente largas.
El editor usa una estructura de niveles recursiva — tu película contiene escenas, cada escena contiene clips, y puedes anidar niveles tan profundamente como quieras. Esto facilita la organización incluso de películas complejas de múltiples actos.
Paso 6: Exporta y Comparte tu Película
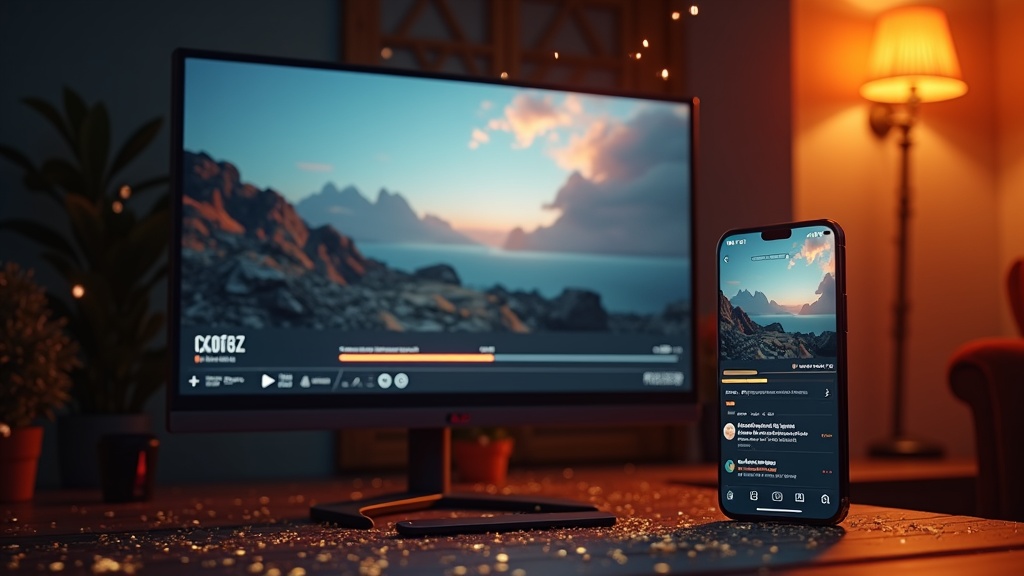
Cuando estés satisfecho con tu edición, exporta la película final. DaVinciDreams renderiza tu proyecto usando Remotion en AWS Lambda — tu película se divide en fragmentos paralelos para un renderizado rápido, luego se concatenan en la salida final. Dependiendo de la duración y complejidad, la mayoría de las películas se renderizan en minutos, no horas.
Después de exportar, puedes descargar tu película, compartirla con un enlace o publicarla en el escaparate comunitario de DaVinciDreams donde otros creadores pueden descubrir e interactuar con tu trabajo.
¿Cuánto Cuesta?
DaVinciDreams usa un sistema de precios transparente basado en créditos. Compras créditos, y cada generación deduce créditos según el modelo utilizado. Las estimaciones de coste para cada uso se muestran con antelación, y los costes de creación de medios son similares a lo que pagarías directamente en las grandes plataformas como Kling, Sora o Hunyuan.
El plan gratuito te da 50 generaciones de imagen y audio al mes, hasta 3 proyectos y exportaciones con marca de agua — suficiente para experimentar y crear cortometrajes sin coste. Visita la página de Precios para ver los paquetes de créditos actuales y los detalles.
Trae tus Propias Claves (BYOK)
Los usuarios avanzados pueden conectar sus propias claves API de cualquier proveedor soportado. Cuando usas tus propias claves, la plataforma omite completamente la deducción de créditos — pagas directamente al proveedor a sus tarifas. Esto es ideal para creadores con suscripciones API existentes o aquellos que quieren el máximo control sobre los costes.
Consejos para Mejores Películas con IA
Después de ayudar a miles de creadores a hacer sus primeras películas con IA, estos son nuestros mejores consejos:
- Empieza corto. Tu primera película debería ser de 30-60 segundos. Domina el flujo de trabajo antes de abordar proyectos más largos.
- Sé específico en tu concepto. "Un detective en el Chicago de los años 40" produce mejores resultados que "una historia de detectives."
- Usa imágenes de referencia. Subir incluso una sola imagen de referencia mejora drásticamente la consistencia visual de tu película.
- Itera en los prompts. El editor de prompts te permite ajustar y regenerar clips individuales. Dedica tiempo a refinar los clips que más importan.
- Mezcla modelos estratégicamente. Usa modelos caros de alta calidad para las tomas principales y modelos más baratos para planos de establecimiento y transiciones.
- Previsualiza a menudo. La previsualización en tiempo real detecta problemas de sincronización y ritmo que son difíciles de identificar solo en la línea de tiempo.
¿Listo para Hacer tu Primera Película con IA?
La producción cinematográfica con IA ya no es ciencia ficción — es una herramienta creativa práctica y accesible que cualquiera puede adoptar hoy. Ya quieras crear un cortometraje animado, un tráiler cinematográfico o un concepto de documental completo, DaVinciDreams te da todo lo que necesitas en una sola plataforma.
Empieza a crear tu película con IA ahora — no se requiere tarjeta de crédito para el plan gratuito. Sube tu concepto, deja que la IA escriba tu guion, genera tus medios y edita tu película en el navegador. Tu primera película está a solo unos clics de distancia.